ReliOn glucose meters empower individuals to proactively manage diabetes, offering convenient in-vitro diagnostic tools for monitoring blood glucose levels at home or professionally․
These systems, like the Premier Compact GM505VAA and ReliOn Rx TMX, utilize ReliOn test strips for accurate readings, supporting effective diabetes management strategies․
Designed for ease of use, ReliOn meters provide valuable data for informed healthcare decisions, and are available through retailers like Walmart and CVS․
What is a ReliOn Glucose Meter?
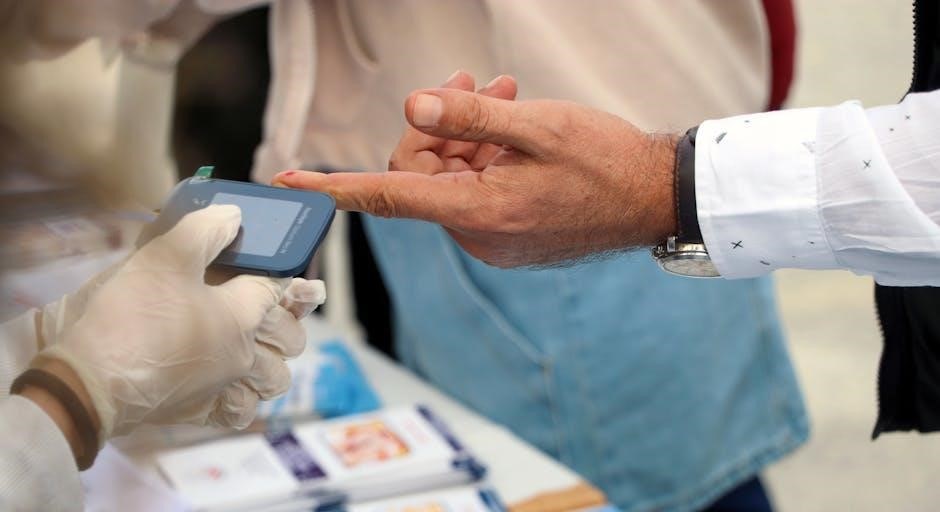
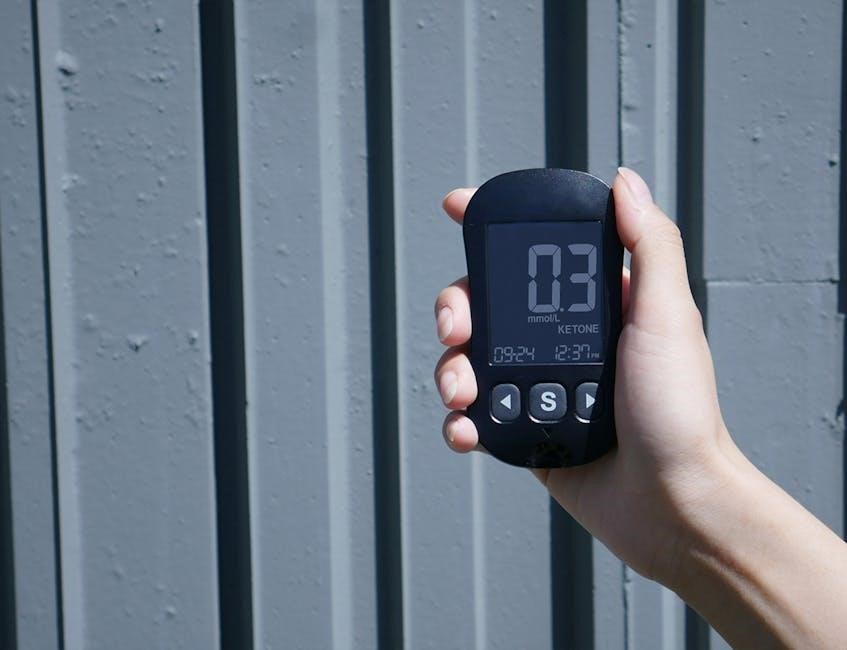
A ReliOn glucose meter is a medical device designed for the quantitative measurement of glucose in fresh whole blood samples, typically obtained from a fingertip․ It’s an in vitro diagnostic tool, meaning it’s used for testing outside the body․ These meters are specifically intended for use by individuals with diabetes to help manage their condition, and can be utilized both at home by patients themselves (lay users) and in professional healthcare settings․
ReliOn offers a range of models, including the Premier Compact GM505VAA, the ReliOn Rx TMX, and the ReliOn micro, each designed to provide accurate and reliable blood glucose readings․ These meters work in conjunction with dedicated ReliOn test strips – such as ReliOn/TRUE METRIX – to analyze the blood sample and display the glucose concentration․
The core function of a ReliOn meter is to provide individuals with the information needed to make informed decisions about their diet, exercise, and medication, ultimately contributing to better diabetes control․
Intended Use & User Profile
The ReliOn glucose monitoring system is intended for use in the management of diabetes․ Specifically, it’s designed to be used for monitoring glucose levels in fresh whole blood samples, typically obtained via fingertip testing․ This system caters to both home use by individuals managing their diabetes independently – often referred to as “lay users” – and professional use within clinical settings․
The typical user profile includes individuals diagnosed with diabetes who require regular blood glucose monitoring to maintain optimal health․ This encompasses those managing Type 1 or Type 2 diabetes, as well as individuals needing to track glucose levels due to gestational diabetes or other medical conditions․
Users should be capable of following instructions and understanding the importance of accurate testing procedures․ The system is not intended for use on critically ill patients or for neonatal screening․
Key Features of ReliOn Meters (General)
ReliOn glucose meters generally offer several key features designed for user convenience and accurate monitoring․ Many models, such as the Premier Compact GM505VAA and ReliOn Rx TMX, utilize test strips that do not require coding, simplifying the testing process․ Some systems offer digital connectivity options, including Bluetooth, enabling data logging and integration with smartphone applications for comprehensive tracking․
A common feature is fast and accurate results, typically delivered within seconds․ Compact designs enhance portability, making testing convenient both at home and while traveling․ Many ReliOn meters also feature memory recall, allowing users to review past readings and identify trends․
Furthermore, subscription discounts on test strips are often available, and some models support data transfer capabilities․
Understanding Your ReliOn System
ReliOn systems comprise a meter, test strips (like TRUE METRIX), and a lancing device; these components work together for effective glucose monitoring and diabetes management․
Components of the System
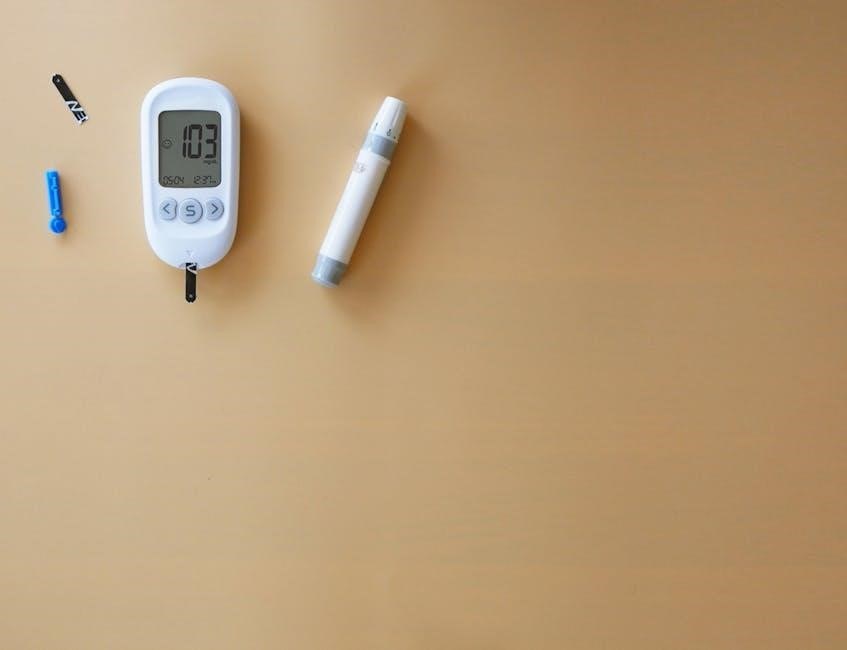
The ReliOn glucose monitoring system is thoughtfully designed with several key components to ensure accurate and convenient blood glucose testing․ At its core is the glucose meter itself, the central unit for processing and displaying your results․ Crucially, the system requires specific ReliOn test strips – compatibility varies by meter model, such as ReliOn Ultima or TRUE METRIX – to react with your blood sample and generate a reading․
A lancing device is included to painlessly obtain a small blood droplet, typically from a fingertip․ This device houses a lancet, a tiny needle used for the skin prick․ Many systems also include a small sample port for applying the blood to the test strip․ Some advanced models may feature data cables or Bluetooth connectivity for transferring readings to a computer or smartphone via a dedicated app, facilitating detailed tracking and analysis of glucose trends over time․
Finally, a user manual is provided, detailing proper operation, maintenance, and troubleshooting steps․ Always refer to your specific model’s manual for detailed instructions․
Meter Models: A Comparison (GM505VAA, TMX, Micro)
ReliOn offers several glucose meter models catering to diverse user needs․ The Premier Compact GM505VAA is a widely available option, known for its simplicity and affordability․ The ReliOn Rx TMX system often pairs with TRUE METRIX test strips, potentially offering cost savings through subscription discounts․ It’s designed for straightforward operation and reliable results․
The ReliOn micro model, identified by software version GT-1941 Ver, represents a more compact and potentially streamlined design․ While specific feature sets vary, all models share the core function of blood glucose monitoring․ Key differences lie in test strip compatibility, data storage capacity, and connectivity options․
Some models support digital connectivity, including Bluetooth and app integration, while others are more basic․ Choosing the right model depends on individual preferences, budget, and desired features․ Always consult product specifications for detailed comparisons․
ReliOn Test Strip Compatibility
ReliOn glucose meters demonstrate specific compatibility with designated test strip types, crucial for accurate readings․ The ReliOn Ultima test strips are designed for use with compatible ReliOn meters, ensuring optimal performance․ Notably, the ReliOn Rx TMX system is specifically designed to work with TRUE METRIX test strips, often available with subscription-based discounts․
Using incorrect test strips can lead to inaccurate results, impacting diabetes management․ It’s vital to verify strip compatibility with your specific meter model before use․ Many ReliOn meters utilize strips without coding, simplifying the testing process․ However, always double-check packaging and the user manual․
Expired or damaged test strips should never be used․ Proper storage, as detailed in the meter’s manual, is essential to maintain strip integrity and ensure reliable glucose monitoring․
Setting Up Your ReliOn Glucose Meter
ReliOn meters require initial setup, including battery insertion and date/time configuration, to function correctly․ Control solution understanding is also vital for accuracy verification․
Inserting Batteries
Proper battery installation is crucial for the ReliOn glucose meter to operate effectively․ Typically, these meters require one or two AAA batteries, depending on the specific model – such as the GM505VAA, TMX, or Micro․
Locate the battery compartment, usually found on the back or bottom of the meter․ Gently slide or lift the compartment cover to access the battery slot․
Insert the batteries, carefully observing the polarity markings (+ and -) inside the compartment․ Incorrect polarity can damage the meter and prevent it from functioning․ Ensure the batteries are securely seated in the slot․
Close the battery compartment cover until it clicks into place․ The meter should now power on, displaying a welcome screen or prompting you to set the date and time․ Replace batteries when the low battery indicator appears on the display․
Always use fresh, high-quality batteries for optimal performance and accurate readings․
Setting the Date and Time
Accurate date and time settings are essential for proper data logging and review of past readings on your ReliOn glucose meter․ After inserting the batteries, the meter may automatically prompt you to set the date and time․
Navigate through the meter’s menu using the buttons – typically labeled “Menu,” “Up,” and “Down․” Select the “Date” and “Time” settings․
Adjust the year, month, day, hour, and minute using the “Up” and “Down” buttons․ Confirm each selection by pressing the “Menu” or “OK” button․
Ensure the correct date and time format is selected (e․g․, MM/DD/YYYY or DD/MM/YYYY)․
Save the settings and exit the menu․ The meter will now display the current date and time, allowing for accurate tracking of your blood glucose readings over time․ Refer to your specific model’s manual for detailed instructions․
Understanding Control Solution
Control solution is a vital tool for verifying the accuracy of your ReliOn glucose meter and test strips․ It simulates a known glucose level, allowing you to confirm the system is functioning correctly․ Do not use control solution for self-testing or to make treatment decisions․
Control solution should be used when opening a new box of test strips, if you suspect the meter is malfunctioning, or if readings seem inconsistent with how you feel․
Follow these steps: Apply a small drop of control solution to a test strip, insert it into the meter, and compare the displayed result to the range printed on the test strip vial․
If the result falls within the specified range, your system is working accurately․ If not, troubleshoot the issue or contact customer support․ Always store control solution as directed on the packaging․

Performing a Blood Glucose Test
Accurate testing requires careful preparation, obtaining a sufficient blood sample, and correctly applying it to a ReliOn test strip for reliable glucose monitoring․
Follow the meter’s instructions precisely to ensure dependable results and effective diabetes management․
Preparing for the Test
Before initiating a blood glucose test with your ReliOn meter, thorough preparation is crucial for accurate results․ Begin by gathering all necessary supplies: your ReliOn meter, a ReliOn test strip, a lancing device, and lancets․ Ensure your hands are clean and dry – wash them thoroughly with soap and warm water, then dry completely․
This minimizes the risk of infection and ensures a clear blood sample․ Insert a new, sterile lancet into the lancing device, adjusting the depth setting to suit your skin type․ Prepare a new test strip and insert it into the meter, ensuring the meter recognizes the strip and displays the appropriate readiness symbol․
Select a fingertip location – sides are generally less sensitive – and gently massage the area to encourage blood flow․ Avoid using the same finger repeatedly to prevent soreness․
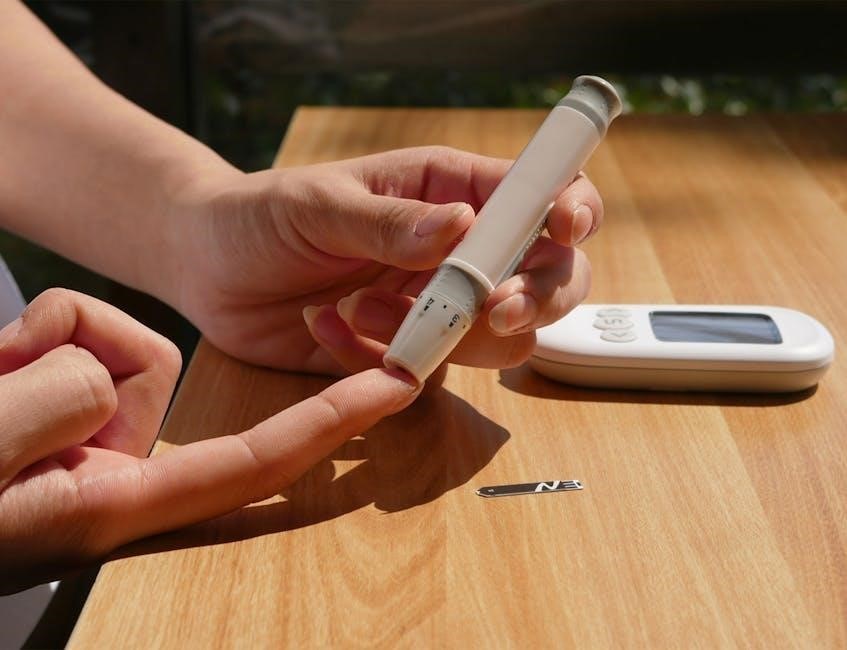
Obtaining a Blood Sample
With the lancing device prepared and positioned, firmly press it against the chosen fingertip location․ Activate the device by pressing the release button․ A small drop of blood will appear – avoid squeezing the finger excessively, as this can dilute the sample with tissue fluid and affect accuracy․
If the blood flow is insufficient, gently massage the finger towards the puncture site․ Do not reuse the lancet․ It’s vital to obtain a sufficient blood droplet, typically a small, rounded drop, for proper test strip application․
Wipe away the first drop of blood with a clean, dry cloth, as it may contain tissue fluid․ The subsequent drop is ideal for testing․ Act quickly, as blood may clot, and the test strip requires a fresh sample for reliable glucose measurement․
Applying Blood to the Test Strip
Insert a ReliOn test strip into the meter, ensuring the strip is correctly oriented as indicated by the arrow or markings on the strip and meter․ The meter will typically power on automatically upon strip insertion, displaying a readiness symbol․
Gently touch the edge of the blood droplet to the designated sample area on the test strip․ The strip will draw the blood in via capillary action – do not smear or spread the blood․ Ensure sufficient blood is applied; the meter will indicate if the sample size is inadequate․
Avoid touching the sample area with your fingers․ Keep the meter and strip steady during the testing process․ The meter will begin the countdown, displaying the remaining time until the glucose reading is available․
Reading and Interpreting Results
ReliOn meters display glucose levels in milligrams per deciliter (mg/dL)․ Understand your target range, and promptly address high or low readings with appropriate action․
Review past readings using the meter’s memory recall function to identify trends and inform diabetes management decisions effectively․
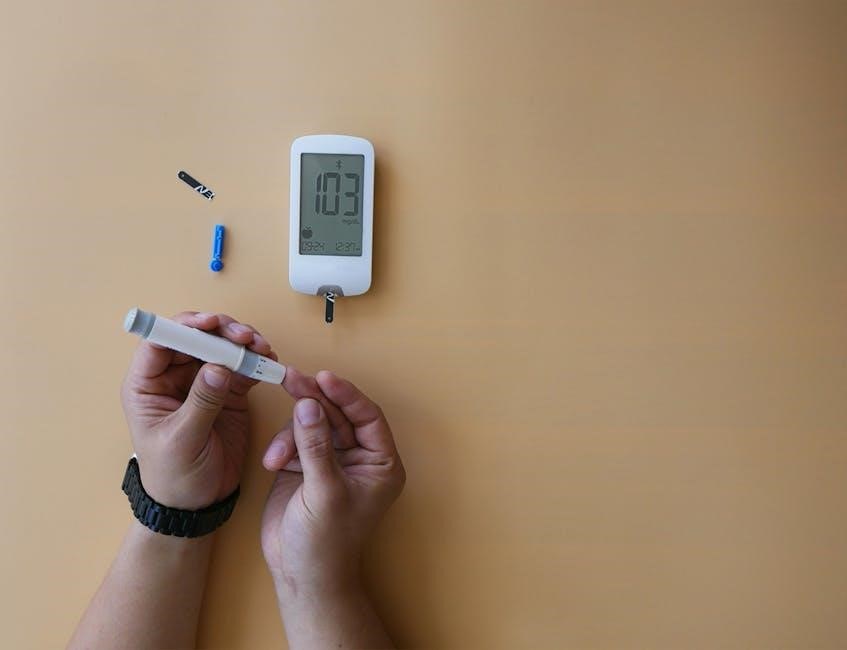
Understanding Your Glucose Reading
ReliOn glucose meters display your blood glucose concentration in milligrams per deciliter (mg/dL)․ This reading represents the amount of glucose present in your blood at the time of testing․ It’s crucial to understand what your reading signifies in relation to established target ranges, typically determined in consultation with your healthcare provider․
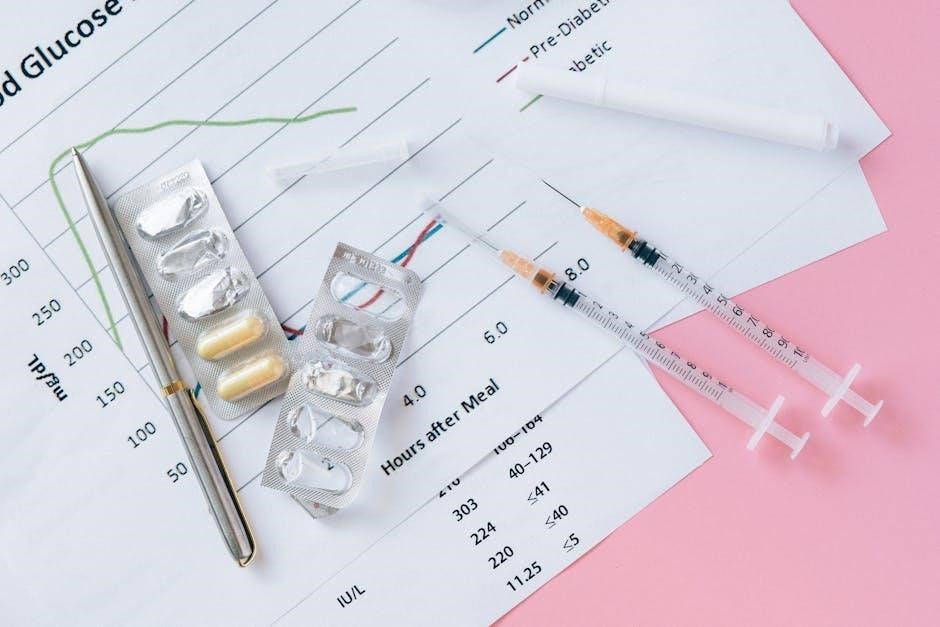
Generally, a reading before meals should fall within a specific range, and readings two hours after meals should be within another․ These ranges vary based on individual factors like age, overall health, and diabetes management plan․ Consistently high readings may indicate inadequate control, while consistently low readings could signal hypoglycemia․
Factors influencing readings include recent meals, physical activity, stress levels, and medication․ Always consider these variables when interpreting your results․ Regularly logging your readings and noting associated factors can help identify patterns and optimize your diabetes management strategy․ Remember, a single reading doesn’t define your overall control; it’s the trend over time that matters most․
High and Low Glucose Levels: What to Do
High glucose levels (hyperglycemia), indicated by readings consistently above your target range, require immediate attention․ Drink plenty of water to help flush excess glucose, and consider light exercise if you’re feeling well․ If levels remain high, contact your healthcare provider for guidance, as adjustments to medication or diet may be necessary․
Low glucose levels (hypoglycemia), typically below 70 mg/dL, demand swift action․ Follow the “15-15 rule”: consume 15 grams of fast-acting carbohydrates (like glucose tablets or juice), wait 15 minutes, and recheck your blood glucose․ Repeat if levels remain low․
Severe hypoglycemia, causing confusion or loss of consciousness, requires immediate medical assistance․ Always carry a source of fast-acting carbohydrates and inform family or friends about your condition and how to help in an emergency․ Proactive management and awareness are key to preventing and addressing both high and low glucose events․
Memory Recall & Reviewing Past Readings
ReliOn glucose meters typically store a history of your blood glucose readings, allowing you to track trends and patterns over time․ Accessing this memory is crucial for effective diabetes management and informed discussions with your healthcare provider․
To review past readings, consult your specific meter’s user manual․ Generally, you’ll use the meter’s buttons to navigate through the stored data, often displayed with date and time stamps․ Some models allow you to view average readings over 7, 14, or 30-day periods․
Understanding these trends can help identify factors influencing your glucose levels, such as diet, exercise, or medication․ Regularly reviewing your glucose history empowers you to make proactive adjustments to your diabetes management plan, leading to better overall health outcomes․
Meter Maintenance and Care
Regular cleaning with a damp cloth ensures accuracy, while proper test strip storage prevents degradation․ Safely dispose of used strips and lancets responsibly․
Cleaning the Meter
Maintaining a clean ReliOn glucose meter is crucial for accurate readings and preventing the spread of infection․ Before cleaning, always ensure the meter is turned off․ Gently wipe the exterior of the meter with a lightly dampened cloth – avoid using harsh chemicals, abrasive cleaners, or excessive moisture․
Focus on cleaning the test strip port, as residual blood or fluids can interfere with future tests․ A cotton swab lightly moistened with water or isopropyl alcohol (70%) can be used to carefully clean this area․ Ensure the port is completely dry before inserting a new test strip․
Never immerse the meter in water or any other liquid․ Avoid getting any liquid inside the meter’s openings․ Regular cleaning, even if it appears clean, helps maintain optimal performance and extends the life of your ReliOn glucose monitoring system․
Always refer to your specific model’s user manual for detailed cleaning instructions․
Test Strip Storage
Proper storage of ReliOn glucose test strips is vital for maintaining their accuracy and ensuring reliable blood glucose readings․ Always store test strips in their original vial, tightly closed to protect them from moisture, heat, and light․
Keep the vial in a cool, dry place, ideally between 60°F and 86°F (16°C and 30°C)․ Avoid storing test strips in direct sunlight, in a bathroom, or near sources of heat or humidity․ Do not refrigerate or freeze test strips, as this can damage them․
Check the expiration date on the vial before each use and discard any expired strips․ Using expired strips can lead to inaccurate results․ Avoid transferring strips to another container, as this can expose them to environmental factors and compromise their integrity․
Follow these guidelines for optimal performance․
Disposal of Used Test Strips and Lancets
Safe and responsible disposal of used test strips and lancets is crucial to prevent accidental needle sticks and protect the environment․ Used test strips, while not biohazardous, should be discarded in a household trash receptacle․
Lancets, however, are considered sharps and require careful handling․ Do not discard loose lancets into the trash․ Instead, use an FDA-cleared sharps container for safe disposal․ These containers are puncture-resistant and designed to prevent injuries․
If a sharps container isn’t available, place used lancets in a sturdy, puncture-proof plastic container with a tight-fitting lid, clearly labeled “Sharps – Do Not Recycle․” Check with your local waste management authorities for specific guidelines regarding sharps disposal in your area․
Follow all local regulations․
Troubleshooting Common Issues
ReliOn meters may display error codes requiring review of the user manual; inaccurate readings can stem from improper technique or expired test strips․
If the meter fails to power on, check the batteries and ensure proper contact․
Error Codes and Their Meanings
ReliOn glucose meters utilize error codes to communicate potential issues during operation, prompting users to address them for accurate results․ Understanding these codes is crucial for effective troubleshooting․ While specific codes vary by model (GM505VAA, TMX, Micro), common errors include:
- E1 or Err1: Often indicates an issue with the test strip – ensure it’s not damaged, expired, or improperly inserted․
- E2 or Err2: May signal insufficient blood sample; retest with a larger drop․
- E3 or Err3: Could point to a problem with the meter’s internal components, potentially requiring replacement․
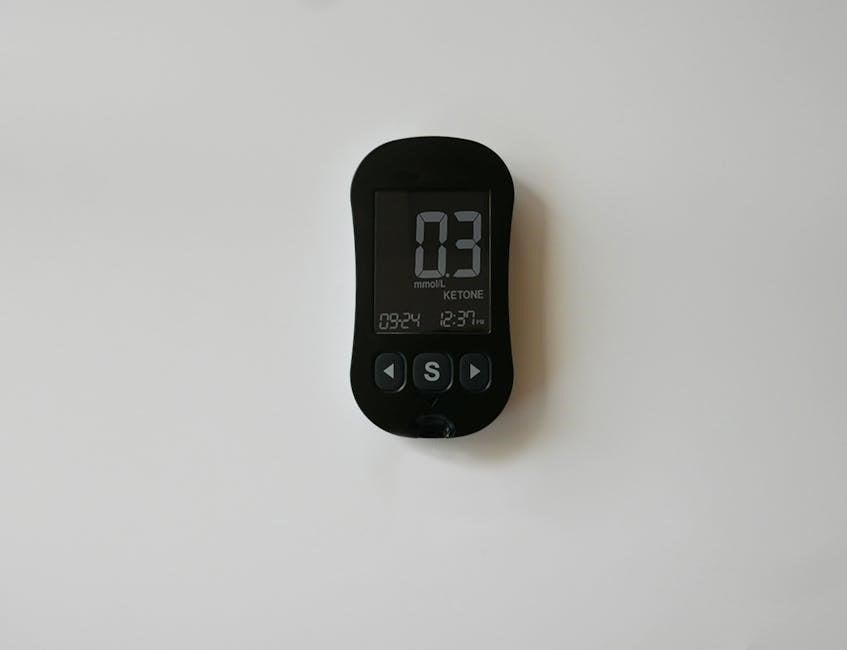
- Lo or Hi: Represents readings outside the meter’s measurable range, indicating extremely low or high glucose levels․
Consult your ReliOn meter’s specific user manual (downloadable from ManualsLib) for a comprehensive list of error codes and their corresponding solutions․ Ignoring error codes can lead to inaccurate readings and compromised diabetes management․
Inaccurate Readings: Possible Causes
Several factors can contribute to inaccurate blood glucose readings with your ReliOn meter․ Expired or improperly stored test strips are a common culprit; ensure strips are within their expiration date and kept in a cool, dry place․ Insufficient blood sample size, or applying blood incorrectly to the test strip, can also lead to errors․
External factors like extreme temperatures or humidity can affect meter performance․ Additionally, contamination of the finger or meter can skew results․ Ensure thorough handwashing before testing․
Finally, variations in hematocrit levels or certain medications may influence readings․ Refer to your ReliOn manual (available on ManualsLib) for detailed troubleshooting and consult your healthcare provider if inaccuracies persist․
Meter Not Turning On
If your ReliOn glucose meter fails to power on, begin by checking the batteries․ Ensure they are correctly installed with the proper polarity (+/-) and are not depleted․ Replace them with fresh batteries, even if the existing ones appear to have some charge remaining․
A faulty power button is another potential cause․ Gently press the button several times to see if it responds․ Inspect the battery compartment for any signs of corrosion or damage, which could prevent a connection․
If the issue persists, consult the ReliOn user manual (downloadable from ManualsLib) for specific troubleshooting steps related to your meter model․ Contact customer support if these steps don’t resolve the problem․
Advanced Features (If Applicable)
ReliOn meters, particularly newer models, may offer data logging, Bluetooth connectivity, and app integration for streamlined glucose monitoring and insightful trend analysis․
Data Logging and Transfer
ReliOn glucose meters often feature built-in memory capable of storing previous blood glucose readings, allowing users to track their levels over time․ This historical data is invaluable for identifying patterns and understanding how diet, exercise, and medication impact glucose control․
Many ReliOn systems facilitate data transfer to computers or mobile devices․ This is typically achieved through a USB connection or, in more advanced models, via Bluetooth wireless technology․ Once transferred, the data can be viewed and analyzed using specialized software or companion apps․
These apps often provide graphical representations of glucose trends, customizable reports, and the ability to share information with healthcare professionals․ Data logging and transfer empower individuals to actively participate in their diabetes management and make informed decisions based on comprehensive insights into their glucose patterns․ The ability to easily share this data with doctors can also improve the quality of care received․
Bluetooth Connectivity & App Integration
Certain ReliOn glucose meter models boast Bluetooth connectivity, enabling seamless wireless synchronization with compatible smartphones or tablets․ This feature eliminates the need for cables and simplifies the process of transferring blood glucose data․
Dedicated ReliOn companion apps, available for both iOS and Android devices, serve as central hubs for managing diabetes information․ These apps automatically import readings from the meter, presenting them in clear, easy-to-understand formats like graphs and charts․
Beyond data visualization, these apps often include features such as medication reminders, meal logging, and the ability to share reports directly with healthcare providers․ Integration with the app enhances the user experience, promoting proactive diabetes self-management and fostering better communication with medical teams․
Digital Connectivity Options
Beyond Bluetooth, some ReliOn glucose monitoring systems offer diverse digital connectivity options designed to streamline data management and enhance the user experience․ While specific capabilities vary by model, the overarching goal is to facilitate seamless integration with digital health ecosystems․
These options may include USB connectivity, allowing direct transfer of stored readings to a computer for detailed analysis or report generation․ Certain meters support compatibility with specific software platforms, enabling users to track trends and gain deeper insights into their glucose control․
Furthermore, the ability to export data in common formats like CSV or PDF simplifies sharing information with healthcare professionals․ These digital tools empower individuals to actively participate in their diabetes care, fostering informed decision-making and improved health outcomes․