Hygger Aquarium Light Manual: A Comprehensive Guide
This manual details the Hygger Aqua Knight V2 LED aquarium light, covering installation, operation, troubleshooting, and advanced features like the Lumini Aqua Master controller.
Hygger aquarium lights are designed to provide optimal illumination for thriving aquatic ecosystems. They cater to both freshwater and saltwater environments, enhancing the natural beauty of your aquarium inhabitants and promoting healthy plant growth. Hygger focuses on delivering high-quality, energy-efficient lighting solutions, often incorporating advanced features like programmable timers and customizable spectrums.
The Aqua Knight V2, a popular model, exemplifies this commitment. Understanding the principles behind aquarium lighting – including spectrum requirements for different organisms – is crucial for successful implementation. This manual will guide you through the specifics of Hygger lights, ensuring you can create the ideal underwater environment. Proper lighting significantly impacts fish coloration, plant photosynthesis, and overall aquarium health.
Understanding the Aqua Knight V2 & Similar Models
The Hygger Aqua Knight V2 is a widely-used LED aquarium light known for its balanced spectrum and adjustable features. Similar Hygger models, like the 957, share core technologies but may differ in size, wattage, and specific control options. These lights typically utilize a combination of LEDs to mimic natural sunlight, supporting both plant and fish needs.
Key distinctions between models often relate to tank size compatibility. The V2 is suitable for a range of tanks, while others are designed for nano or larger setups. Understanding the light’s specifications – including dimensions and power consumption – is vital before purchase; All models prioritize energy efficiency and long-lasting performance, offering a cost-effective lighting solution.
Key Features & Specifications
Hygger lights boast adjustable intensity, programmable timers, and optimized LED spectrums for plant growth. They feature inductive reactance circuitry for efficient power delivery.
LED Configuration & Light Spectrum
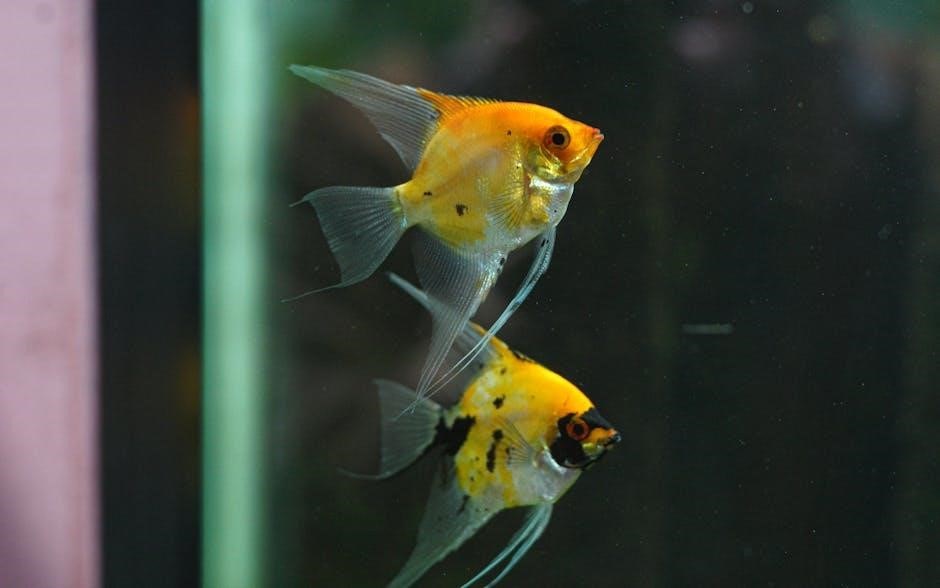
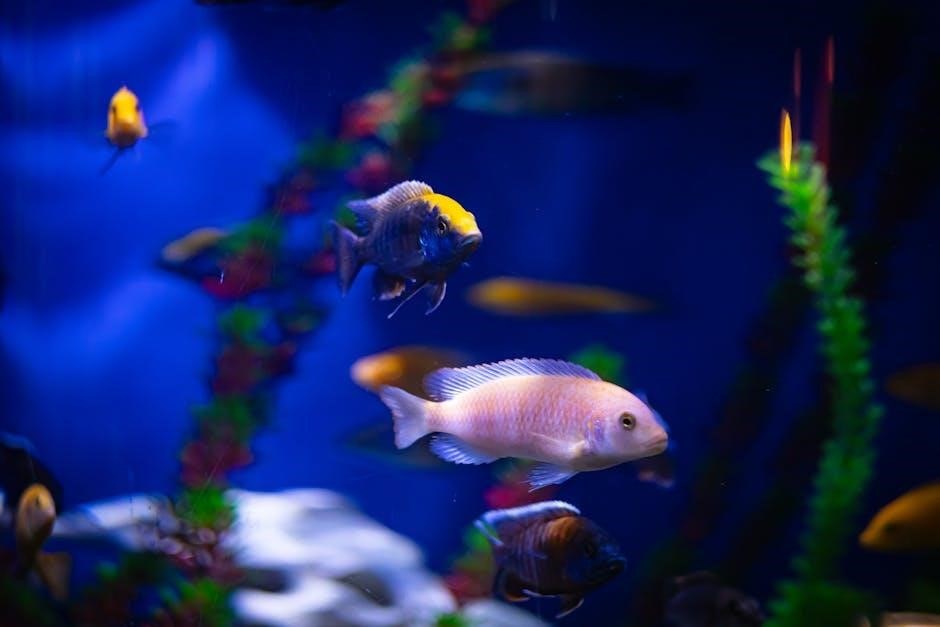
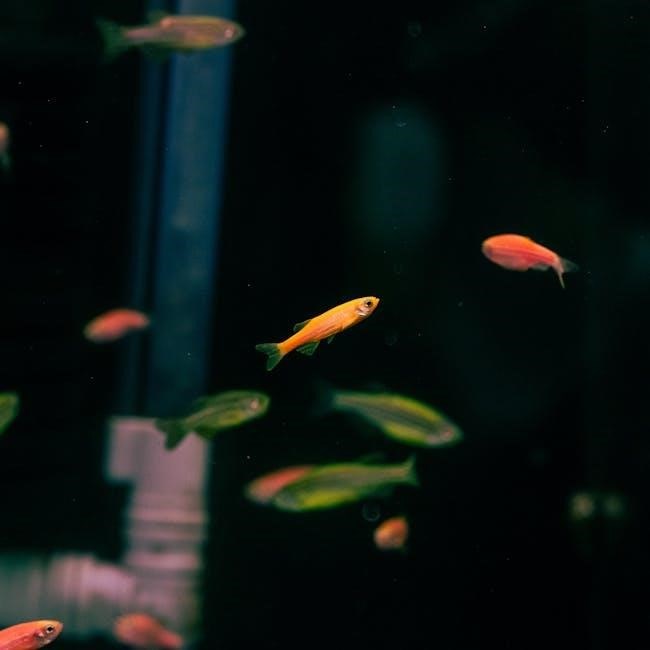
Hygger aquarium lights utilize a carefully engineered LED configuration to deliver a full-spectrum light output, crucial for thriving aquatic life and vibrant plant growth. The spectrum typically includes wavelengths optimized for photosynthesis, enhancing coloration in fish, and promoting coral fluorescence.
These lights often employ a combination of different LED types – including white, red, green, and blue – to achieve a balanced and natural-looking illumination. The specific arrangement and intensity of these LEDs are designed to mimic sunlight, providing the necessary energy for aquatic ecosystems.
Understanding the light spectrum is vital for tailoring the lighting to specific tank inhabitants; different species have varying light requirements. Hygger lights aim to provide a versatile spectrum suitable for a wide range of freshwater and saltwater setups.
Power Consumption & Voltage Requirements
Hygger aquarium lights are designed for energy efficiency, offering substantial illumination with relatively low power consumption. Typical models operate on standard household voltage – usually 110-240V AC, 50/60Hz – ensuring compatibility across various regions. However, always verify the specific voltage requirement printed on the light’s label or power adapter.
Power consumption varies depending on the light’s size and intensity, ranging from approximately 15W for smaller tanks to 50W or more for larger setups. Using a light with appropriate wattage for your tank size is crucial for optimal plant growth and avoiding overheating.
It’s essential to use the provided power adapter and avoid connecting the light to an incompatible power source to prevent damage or safety hazards.
Dimensions & Compatibility with Tank Sizes
Hygger aquarium lights come in various sizes to accommodate a wide range of tank dimensions. Before purchasing, carefully measure the length of your aquarium to ensure proper light coverage. Lights are typically available in lengths corresponding to common tank sizes, such as 20-inch, 30-inch, 36-inch, and 48-inch models.
Consider the light’s width and height as well, especially if you have a taller tank or limited space above the water. Generally, a light should extend slightly beyond the tank’s edges for even illumination. Compatibility charts are often provided by Hygger, detailing recommended light sizes for specific tank volumes.
Using a light that is too small will result in insufficient coverage, while an overly large light may be unnecessary and consume excess energy.
Installation & Setup
Proper installation involves selecting a mounting option—hanging or bracket—adjusting light intensity, setting the timer, and allowing an acclimation period for your fish.
Mounting Options: Hanging & Bracket
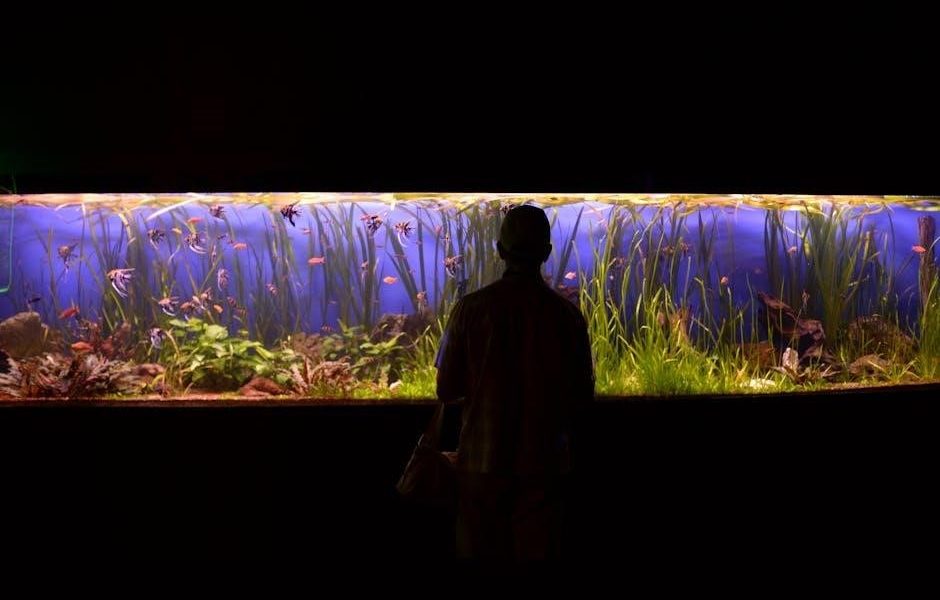
Hygger aquarium lights offer versatile mounting options to suit various tank setups. The included hanging kit allows for suspension above the aquarium, ideal for open-top tanks or when a bracket isn’t feasible. Ensure the cables are securely routed and positioned away from potential water splashes.
Alternatively, the adjustable bracket provides a stable mounting solution for rimmed or rimless aquariums. Carefully adjust the bracket’s width to match your tank’s dimensions, ensuring a snug and secure fit. Regularly check the bracket’s stability to prevent accidental dislodgement. Both methods prioritize safe and reliable light positioning, maximizing illumination for your aquatic environment.
Adjusting Light Intensity & Timer Settings
Hygger lights feature adjustable intensity levels, allowing customization for different plant and fish needs. Dimming capabilities promote a natural day/night cycle, reducing stress on aquatic life. Utilize the integrated timer to automate lighting schedules, ensuring consistent photoperiods even during absences.
Programming the timer is straightforward via the control panel. Set desired on/off times to mimic sunrise and sunset, optimizing plant growth and enhancing the aquarium’s aesthetic appeal. Gradual ramping features, if available, simulate natural light transitions. Regularly review and adjust settings based on observed plant health and fish behavior for optimal results.
Initial Setup & Acclimation Period for Fish
When first introducing the Hygger light, avoid a sudden, full-intensity blast. Begin with a reduced light cycle – perhaps 6-8 hours at a lower intensity – to allow fish and invertebrates to acclimate. Observe your aquatic inhabitants closely for signs of stress, such as hiding or altered behavior.
Gradually increase both the duration and intensity over a week or two. This slow introduction prevents shock and allows plants to adjust to the new light spectrum. Monitor plant growth for signs of nutrient deficiencies or excessive algae, adjusting the light schedule accordingly. A balanced approach ensures a thriving and healthy aquarium ecosystem.
Understanding Inductive Reactance (Related to Light Circuitry)
Inductive reactance, caused by inductors, opposes AC current flow. It’s measured in Ohms and depends on inductance and frequency, crucial for aquarium light circuits.
What is Inductive Reactance?
Inductive reactance (XL) is the opposition that an inductor presents to the flow of alternating current (AC), due to the inductor’s energy storage in a magnetic field. Unlike resistance, which dissipates energy as heat, inductive reactance stores and releases energy, causing a phase shift between voltage and current.
This opposition isn’t constant; it’s directly proportional to both the frequency (f) of the AC signal and the inductance (L) of the coil. The formula XL = 2πfL quantifies this relationship. Higher frequencies or larger inductance values result in greater inductive reactance.
Essentially, an inductor resists changes in current. This property is vital in aquarium light circuitry, influencing how efficiently power is delivered to the LEDs and impacting overall performance.
The Role of Inductors in Aquarium Light Circuits
Inductors play a crucial role in Hygger aquarium light circuits, primarily functioning as current limiters and filters. They work alongside capacitors to smooth the DC current supplied to the LEDs, reducing ripple and ensuring stable illumination. This smoothing effect extends the lifespan of the LEDs and prevents flickering.
Furthermore, inductors help manage the inrush current when the light is initially powered on, protecting sensitive components from voltage spikes. They contribute to the overall efficiency of the power supply by storing energy and releasing it as needed.
Because of their resistance to changes in current, they help maintain a consistent light output, vital for healthy aquatic life and plant growth.
Calculating Inductive Reactance (XL = 2πfL)
Inductive reactance (XL) is a measure of an inductor’s opposition to alternating current (AC). It’s calculated using the formula XL = 2πfL, where ‘f’ represents the frequency of the AC signal (typically 50 or 60 Hz) and ‘L’ is the inductance, measured in Henries.
In Hygger aquarium lights, understanding XL helps analyze circuit behavior. A higher inductance (L) or frequency (f) results in greater reactance, limiting current flow. This calculation is essential for diagnosing issues like reduced brightness or flickering.
Knowing XL allows technicians to assess the inductor’s performance and ensure optimal circuit operation, contributing to the light’s efficiency and longevity. The result is measured in Ohms.
Troubleshooting Common Issues
This section addresses typical problems: lights failing to power on, dim or flickering illumination, and timer malfunctions, offering solutions for optimal performance.
Light Not Turning On
If your Hygger aquarium light fails to illuminate, begin by verifying the power connection at both the light fixture and the wall outlet. Ensure the outlet is functioning correctly by testing it with another device. Next, inspect the power adapter for any visible damage, such as frayed wires or cracks.
Confirm the timer settings are appropriately configured; an incorrect schedule could prevent activation. If using a Lumini Aqua Master controller, check its connection and programming. A faulty inductor within the circuit could also be the cause, impacting current flow. Finally, if none of these steps resolve the issue, contact Hygger support for further assistance, potentially indicating an internal component failure requiring repair or replacement.
Dim or Flickering Light
A dim or flickering Hygger aquarium light often indicates a power supply issue. First, check the power adapter’s output voltage to ensure it matches the light’s requirements. Fluctuations in voltage can cause instability. Inspect the wiring connections for looseness, as poor contact can interrupt current flow.
The inductive reactance within the light’s circuitry might be a factor, especially with alternating current; a change in frequency impacts brightness. If using a controller, verify its settings and compatibility. Dimming can also signal aging LED modules, though replacement may not always be feasible. Persistent flickering suggests a failing component within the light fixture itself, potentially requiring professional repair or replacement.
Timer Malfunctions
If your Hygger aquarium light’s timer isn’t functioning correctly, begin by confirming the timer is properly programmed with the desired on/off schedule. Ensure the light receives consistent power; interruptions can reset the timer. Check for any error messages displayed on the controller (if applicable).
Internal circuitry, including inductive reactance components, can sometimes be affected by power surges or voltage fluctuations, leading to timer errors. Resetting the light by disconnecting and reconnecting the power supply can often resolve minor glitches. If the problem persists, consult the Lumini Aqua Master Controller manual for advanced troubleshooting steps or contact Hygger support for assistance.
Maintenance & Care
Regular cleaning and proper storage are crucial for longevity. Gently clean the fixture and, if possible, carefully consider LED module replacement guidelines.
Cleaning the Light Fixture
Maintaining a clean Hygger aquarium light ensures optimal performance and light output. Before cleaning, always disconnect the light from the power source to prevent electrical shock. Use a soft, slightly damp cloth to gently wipe down the exterior of the fixture. Avoid abrasive cleaners or harsh chemicals, as these can damage the plastic housing or the LED lenses.
For stubborn water spots or algae buildup, a mild solution of water and vinegar can be used, but ensure it’s thoroughly rinsed off with a clean, damp cloth afterward. Never submerge the light fixture in water. Pay particular attention to cleaning the lens covering the LEDs, as dust and debris can significantly reduce light intensity. Regular cleaning, approximately every month or as needed, will help prolong the life of your Hygger light.
Replacing LED Modules (If Applicable)
Some Hygger aquarium lights may feature replaceable LED modules, extending the fixture’s lifespan. Always disconnect the power before attempting any repairs. Consult the specific model’s documentation to determine if LED modules are user-replaceable; some require professional servicing. If replaceable, carefully remove the access panel (if present) and disconnect the old module.
Ensure the replacement module is the correct type and voltage for your light. Connect the new module securely, and reattach the access panel. Improper installation can damage the fixture or create a safety hazard. If you are uncomfortable with this process, contact Hygger support or a qualified technician. Replacing modules restores brightness and color accuracy.
Long-Term Storage Guidelines
If storing your Hygger aquarium light for an extended period, proper preparation is crucial. Always disconnect the light from power and allow it to cool completely. Clean the fixture thoroughly, removing any dust or debris, and ensure it is completely dry.
Store the light in its original packaging, if available, or a similarly protective container. Choose a cool, dry location away from direct sunlight and extreme temperatures. Avoid storing in humid environments, as this can damage the electronic components. Periodically check the stored light for any signs of corrosion or damage. Proper storage ensures longevity and functionality upon reuse.
Advanced Features & Customization
Explore the Lumini Aqua Master controller for precise light adjustments and custom schedules, optimizing your aquarium’s environment for thriving plants and vibrant fish.
Controlling Light with Lumini Aqua Master Controller
The Lumini Aqua Master Controller unlocks advanced control over your Hygger aquarium light. This dedicated controller allows for precise dimming, spectrum adjustments, and the creation of fully customized lighting schedules tailored to your specific aquarium needs.
Through the controller’s interface, you can simulate sunrise and sunset effects, promoting natural fish behavior and plant growth. It offers multiple channels for independent control of different LED colors, enabling you to fine-tune the light spectrum for optimal photosynthetic activity in planted tanks.
The controller connects to the light fixture via a simple cable, and its intuitive design makes programming and operation straightforward. Detailed instructions for pairing and utilizing the controller’s features are available in the separate Lumini Aqua Master Controller Manual.
Programming Custom Light Schedules
Hygger aquarium lights, especially when paired with the Lumini Aqua Master Controller, offer extensive scheduling capabilities. Users can define precise on/off times, dimming levels, and spectral outputs for each day of the week, mimicking natural daylight cycles.
Creating custom schedules allows for simulating sunrise and sunset, gradually increasing and decreasing light intensity to minimize stress on fish and encourage healthy plant growth. The controller’s interface enables the programming of multiple lighting events within a single day, offering dynamic lighting scenarios.
Detailed programming instructions are found within the Lumini Aqua Master Controller Manual, outlining how to set specific times, dimming percentages, and color channel configurations for a truly personalized aquarium lighting experience.
Optimizing Light for Planted Tanks
For thriving planted aquariums, Hygger lights offer adjustable spectrums crucial for photosynthesis. Plants require specific wavelengths of red and blue light for optimal growth, and Hygger lights allow customization to meet these needs.
Increasing the intensity and duration of light exposure supports robust plant development, but careful monitoring is essential to prevent algae blooms. A balanced light schedule, combined with proper CO2 and nutrient levels, is key.
Utilizing the Lumini Aqua Master Controller, users can fine-tune the light spectrum and intensity to cater to the specific requirements of different plant species, maximizing their health and aesthetic appeal within the aquarium ecosystem.

Safety Precautions
Always disconnect the light before maintenance. Avoid water exposure to electrical components, and dispose of the fixture responsibly, following local regulations;
Electrical Safety Guidelines
Prioritize safety when handling your Hygger aquarium light. Always ensure the power cord is dry and undamaged before use. Never operate the light if the cord or plug shows any signs of wear. Disconnect the light from the power outlet before performing any maintenance, including cleaning or replacing LED modules.
Avoid touching the light fixture with wet hands. Do not submerge the light or allow water to enter any electrical components. If the light falls into the water, immediately disconnect it from the power source – do not reach in! Use a Ground Fault Circuit Interrupter (GFCI) outlet for added protection. Inspect the power cord regularly for damage and replace it if necessary. Improper handling can lead to electric shock or fire.
Water Exposure Warnings
Hygger aquarium lights are not designed for submersion. Exposure to water can cause electrical shock and permanently damage the fixture. Never allow water to drip or splash onto the light’s electrical components, including the power supply and LED modules.
Ensure the light is securely mounted and positioned to prevent accidental contact with the aquarium water. If water does come into contact with the light, immediately disconnect it from the power outlet. Do not attempt to operate the light until it has been thoroughly dried and inspected by a qualified technician. Water and electricity are a dangerous combination; prioritize safety and prevent potential hazards.
Proper Disposal of the Light Fixture
Do not dispose of your Hygger aquarium light with regular household waste. This fixture contains electronic components, including LEDs, which require specialized recycling procedures. Improper disposal can harm the environment and potentially pose health risks.
Check with your local municipality or waste management authority for designated e-waste recycling centers. These facilities are equipped to safely dismantle and recycle electronic devices, recovering valuable materials and preventing pollution. Alternatively, some retailers offer take-back programs for electronic products. Responsible disposal ensures environmental protection and compliance with regulations.