
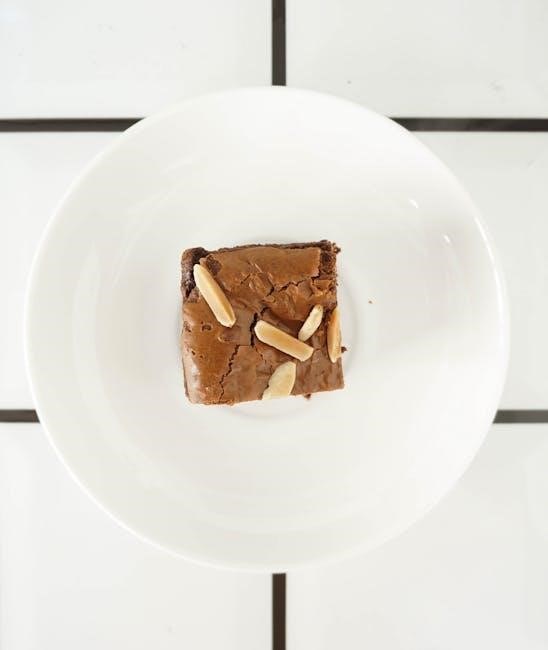
The Pampered Chef Mini Brownie Pan offers a delightful way to bake perfectly portioned treats‚ creating 24 two-bite brownies or similar desserts with ease.
This pan simplifies baking for parties‚ gifting‚ or simply enjoying a small indulgence‚ providing consistent results every time you use it for sweet creations.
What is the Pampered Chef Mini Brownie Pan?
The Pampered Chef Mini Brownie Pan is a specialized bakeware tool designed for creating individual‚ bite-sized portions of brownies‚ blondies‚ and other similar desserts. Unlike traditional brownie pans that yield larger squares or rectangles‚ this pan features 24 individual cavities.
Each cavity is perfectly sized for a satisfying two-bite treat‚ making it ideal for parties‚ potlucks‚ or portion control. Constructed for even heat distribution‚ it ensures consistent baking results across all the mini brownies.
It’s a convenient alternative to cutting and portioning larger batches‚ saving time and effort while delivering adorable‚ perfectly sized sweets.
Why Choose the Mini Brownie Pan?
Choosing the Pampered Chef Mini Brownie Pan offers several advantages for bakers of all levels. Its primary benefit is portion control – perfect for mindful indulgence or serving guests without waste. The pan simplifies baking for gatherings‚ eliminating the need for cutting and serving individual portions.
Beyond brownies‚ it’s incredibly versatile‚ capable of creating mini blondies‚ cookie bars‚ or even individual cheesecakes. The consistent cavity size ensures uniform baking‚ and the pan’s design promotes easy release of the finished treats.
It’s a fun and efficient way to elevate your dessert game!
Understanding the Pan’s Features
The Mini Brownie Pan boasts a durable construction and a superior non-stick coating‚ ensuring easy baking and release of perfectly formed‚ bite-sized treats.
Pan Dimensions and Capacity
The Pampered Chef Mini Brownie Pan is specifically designed for creating delightful‚ individual-sized portions. Its dimensions allow for baking 24 two-bite brownies‚ blondies‚ or other similar sweet treats in a single batch.
This efficient design is perfect for parties‚ potlucks‚ or simply enjoying a controlled indulgence. The pan’s capacity streamlines the baking process‚ eliminating the need for multiple smaller pans or extensive cutting. It’s a convenient solution for consistent‚ perfectly sized desserts‚ making it a valuable addition to any kitchen.
Non-Stick Coating Details
The Pampered Chef Mini Brownie Pan boasts a high-quality‚ durable non-stick coating‚ ensuring effortless food release and simplified cleanup. This coating minimizes the need for excessive greasing‚ contributing to healthier baking and reducing preparation time.
The non-stick surface prevents sticking and burning‚ guaranteeing beautifully formed brownies every time. While the coating is robust‚ proper care – such as hand washing and avoiding abrasive cleaners – is crucial to maintain its effectiveness and prolong the pan’s lifespan‚ ensuring consistent baking results.
Material Composition and Durability
The Pampered Chef Mini Brownie Pan is constructed from heavy-gauge metal‚ providing exceptional durability and even heat distribution for consistent baking. This robust construction resists warping‚ even with frequent use‚ ensuring a long-lasting baking companion.
The pan’s quality materials contribute to its ability to withstand temperature fluctuations and maintain its shape over time. Proper care‚ including avoiding metal utensils and extreme temperature changes‚ will further enhance its durability‚ guaranteeing years of delightful baking experiences and perfectly formed treats.
Preparing to Bake: Initial Steps
Before baking‚ ensure the pan is properly prepared‚ a quality brownie mix is selected‚ and your oven is preheated to the correct temperature for optimal results.
Greasing and Flouring the Pan (or Using Baking Spray)
Proper preparation is key to effortlessly releasing your mini brownies. Begin by lightly greasing each individual cavity of the Pampered Chef Mini Brownie Pan with shortening‚ butter‚ or a neutral oil.
Following greasing‚ lightly dust the pan with flour‚ ensuring it coats all interior surfaces; tap out any excess. Alternatively‚ a baking spray containing flour provides a convenient all-in-one solution.
This creates a barrier preventing sticking‚ guaranteeing clean removal of your perfectly baked treats. Thorough preparation minimizes frustrating mishaps and ensures beautifully formed brownies every single time.
Choosing the Right Brownie Mix
Selecting a quality brownie mix significantly impacts the final result when using the Pampered Chef Mini Brownie Pan. Standard baking mixes work exceptionally well‚ offering convenience and consistent flavor.
Consider your preference – fudge‚ chewy‚ or cakey – when choosing a mix. Premium mixes often contain richer ingredients for a more decadent treat.
You can also use a homemade brownie recipe‚ adjusting baking time accordingly. The pan’s design is versatile‚ accommodating various formulations. Ensure the mix is well-suited for a smaller baking format for optimal texture and taste.
Preheating Oven Temperature
Accurate oven preheating is crucial for evenly baked brownies using the Pampered Chef Mini Brownie Pan. Most brownie mixes recommend 350°F (175°C)‚ but always verify the specific instructions on your chosen mix.
Allow sufficient time for the oven to reach the correct temperature – typically 15-20 minutes. An oven thermometer ensures accuracy‚ as oven dials can be unreliable.
Consistent heat distribution is vital for uniform cooking. Preheating guarantees the batter sets properly‚ resulting in perfectly textured‚ bite-sized brownies throughout the entire pan.
Baking Instructions: Step-by-Step Guide
Begin by carefully pouring your prepared brownie batter into the greased and floured Pampered Chef Mini Brownie Pan‚ filling each cavity about three-quarters full.
Pouring the Brownie Batter
Achieving even distribution of brownie batter within the Pampered Chef Mini Brownie Pan is key for uniform baking. Gently spoon or pour the batter‚ ensuring each of the 24 cavities receives an equal amount.
Avoid overfilling; aim for approximately three-quarters full‚ leaving a small space at the top to accommodate rising during baking. A cookie scoop can be incredibly helpful for precise portioning.
For a smoother finish‚ lightly tap the pan on the counter after filling to release any trapped air bubbles and settle the batter evenly. This simple step contributes to a more professional-looking and consistently textured final product.
Optimal Baking Time and Temperature
For consistently perfect mini brownies‚ preheat your oven to 350°F (175°C). Baking time typically ranges from 15-20 minutes‚ but this can vary depending on your oven and the specific brownie mix used.
Begin checking for doneness around the 15-minute mark. The brownies are ready when a toothpick inserted into the center comes out with moist crumbs attached‚ rather than wet batter.
Avoid overbaking‚ as this can result in dry brownies. Remember‚ they will continue to set as they cool in the pan‚ so slightly underbaked is preferable to overbaked.
Checking for Doneness
Determining when your mini brownies are perfectly baked is crucial for achieving the ideal texture. Start testing for doneness around the 18-minute mark‚ using a wooden toothpick or cake tester.
Gently insert the tester into the center of the pan. If it emerges with moist crumbs clinging to it‚ the brownies are ready. A completely clean toothpick indicates they may be slightly overbaked.
Remember that carryover cooking will continue as the brownies cool‚ so err on the side of slightly underbaked for a fudgier result. Visual cues‚ like the edges pulling away from the pan‚ can also indicate readiness.

Cooling and Removing the Brownies
Allowing the brownies to cool properly within the pan is essential for clean removal and prevents breakage of these delicate‚ bite-sized treats.
Cooling ensures structural integrity‚ making it easier to serve and enjoy these perfectly portioned‚ delightful mini desserts.
Cooling Time in the Pan
After baking‚ it’s crucial to allow the mini brownies sufficient cooling time directly within the Pampered Chef pan before attempting removal. Generally‚ a cooling period of 10-15 minutes is recommended.
This allows the brownies to firm up‚ reducing the likelihood of them crumbling or sticking to the pan’s surface. Resist the urge to expedite the process by inverting the pan prematurely; patience yields better results!
Slightly warm brownies are easier to handle than piping hot ones‚ and the non-stick coating performs optimally when the treats aren’t scorching. A wire rack can aid in even cooling‚ but isn’t strictly necessary.
Safe Removal Techniques
To safely remove the mini brownies‚ gently loosen the edges with a thin‚ flexible spatula after the recommended cooling period. Avoid using metal utensils‚ as they can scratch the non-stick coating.
Invert the pan onto a wire rack or clean surface‚ tapping gently if needed to release any stubborn pieces. If brownies still cling‚ a brief rest can help.
Never force removal; this can cause breakage. The pan’s design facilitates easy release when properly cooled and greased‚ ensuring your bite-sized treats maintain their shape and presentation.
Preventing Brownies from Sticking
To prevent sticking‚ thorough preparation is key. Ensure the pan is evenly coated with grease – either butter‚ shortening‚ or baking spray with flour. Pay attention to each individual cavity!
Allowing the brownies to cool completely in the pan‚ as instructed‚ is crucial. Warm brownies are more prone to breakage during removal.
A well-maintained non-stick coating also contributes significantly. Avoid abrasive cleaners and harsh scrubbing‚ preserving the pan’s release properties for consistently perfect results every bake.
Cleaning and Maintenance
Proper care extends the pan’s life. Hand washing is recommended to protect the non-stick coating‚ avoiding abrasive cleaners and harsh scrubbing for optimal performance.
Hand Washing vs. Dishwasher
While the Pampered Chef Mini Brownie Pan may be dishwasher safe‚ hand washing is strongly recommended to preserve the integrity of the non-stick coating and maximize the pan’s lifespan. Harsh detergents and the high heat of dishwashers can gradually degrade the coating over time‚ potentially leading to sticking issues.
When hand washing‚ use warm‚ soapy water and a soft sponge or cloth. Avoid abrasive scrubbers‚ steel wool‚ or scouring powders‚ as these can scratch the surface. Gently remove any baked-on residue‚ and thoroughly rinse and dry the pan immediately after washing; This simple practice ensures your pan remains in excellent condition for countless baking adventures!
Proper Storage Methods
To best maintain your Pampered Chef Mini Brownie Pan‚ proper storage is essential. Avoid stacking other cookware directly on top of it‚ as this can potentially scratch or warp the surface. Instead‚ consider storing it separately or using pan protectors – soft cloths or felt pads – between layers.
A cool‚ dry place is ideal. Avoid storing the pan in areas exposed to extreme temperatures or humidity. If nesting other pans inside‚ ensure they won’t cause friction. Careful storage will help preserve the non-stick coating and ensure your pan is always ready for baking!
Maintaining the Non-Stick Coating
Preserving the non-stick coating on your Pampered Chef Mini Brownie Pan is crucial for its longevity and performance. Avoid using abrasive cleaners‚ scouring pads‚ or metal utensils‚ as these can damage the surface. Gentle hand washing with warm‚ soapy water is recommended.
While the pan may be dishwasher safe (check packaging)‚ frequent dishwasher use can diminish the coating over time. Avoid harsh chemicals. Seasoning the pan occasionally with a light coating of oil can also help maintain its non-stick properties‚ ensuring easy release and consistent baking results for years to come.
Troubleshooting Common Issues
Addressing baking challenges with the Mini Brownie Pan is simple! Sticking‚ uneven baking‚ or warping can often be resolved with proper preparation and care.
Brownies Sticking to the Pan
Experiencing brownies sticking to your Pampered Chef Mini Brownie Pan can be frustrating‚ but it’s usually easily preventable. Ensure thorough greasing and flouring‚ reaching every nook and cranny of each mini cavity‚ before pouring in the batter. Alternatively‚ a quality baking spray with flour is an excellent option.
Allowing the brownies to cool completely in the pan – as recommended – is crucial. Attempting removal while warm significantly increases the likelihood of sticking. If sticking persists‚ gently run a thin‚ flexible spatula around the edges of each brownie before lifting. Proper pan maintenance‚ avoiding abrasive cleaners‚ also preserves the non-stick coating’s effectiveness.
Unevenly Baked Brownies
If your brownies bake unevenly in the Pampered Chef Mini Brownie Pan‚ several factors could be at play. First‚ ensure your oven temperature is accurate using an oven thermometer. Rotate the pan halfway through the baking time to promote even heat distribution.
Avoid overcrowding the pan; stick to the recommended batter amount for optimal results. Also‚ ensure the oven rack is positioned in the center. Consistent batter distribution across all cavities is vital. Finally‚ avoid opening the oven door frequently during baking‚ as temperature fluctuations can impact evenness.
Pan Warping or Damage
If you notice warping or damage to your Pampered Chef Mini Brownie Pan‚ discontinue use immediately. Extreme temperature changes can contribute to warping; avoid placing a hot pan directly onto a cold surface. Never use abrasive cleaners or scouring pads‚ as these can scratch and damage the non-stick coating.
While durable‚ the pan isn’t indestructible. Avoid using metal utensils that could dent or scratch the surface. Proper storage – flat and protected – also helps prevent damage. Contact Pampered Chef customer service if significant warping occurs‚ as continued use could affect baking results.
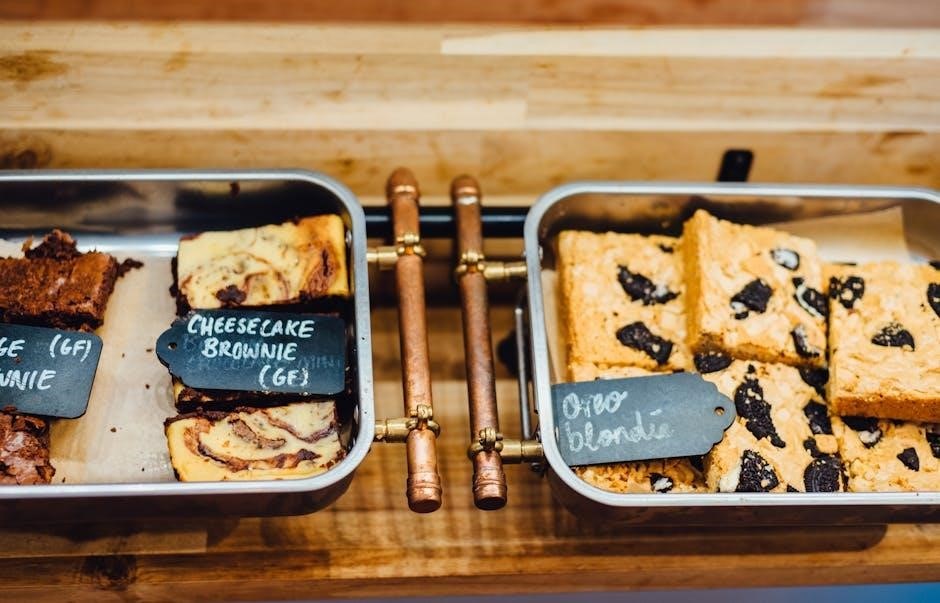
Recipe Ideas Beyond Brownies
Expand your baking horizons! This versatile pan isn’t just for brownies; explore delicious blondies‚ mini cheesecakes‚ or delightful cookie bars for varied treats.
Blondies and Cookie Bars
Beyond the classic chocolate brownie‚ the Pampered Chef Mini Brownie Pan shines when creating perfectly sized blondies and cookie bars. The individual portions ensure even baking and delightful‚ easy serving.
For blondies‚ adapt your favorite recipe‚ reducing baking time slightly due to the smaller size. Similarly‚ cookie bar doughs‚ like chocolate chip or peanut butter‚ bake beautifully in this pan.
Remember to adjust baking times – typically 8-12 minutes – and check for golden edges. The non-stick surface aids in clean removal‚ delivering consistently delicious‚ bite-sized treats perfect for any occasion. Experiment with different mix-ins for endless variations!
Mini Cheesecakes
The Pampered Chef Mini Brownie Pan isn’t limited to brownies; it’s fantastic for baking adorable‚ individual mini cheesecakes! This pan provides the perfect portion size for a delightful dessert experience‚ minimizing the need for slicing.
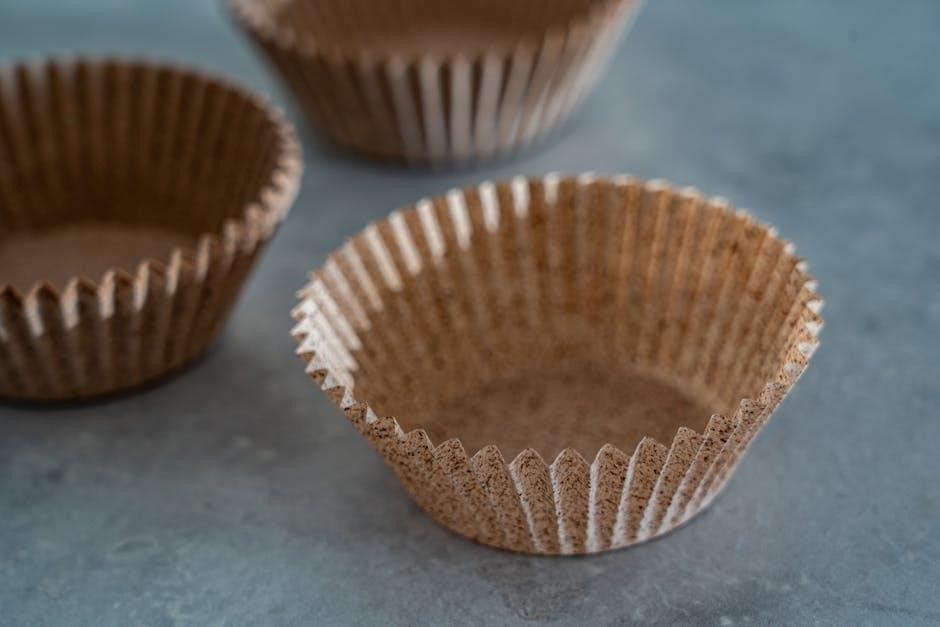
Use your favorite cheesecake recipe‚ and consider lining the pan with paper liners for even easier removal. Reduce the baking time compared to a full-sized cheesecake‚ typically around 15-20 minutes‚ checking for a slight jiggle in the center.
Cool completely before removing‚ and enjoy these creamy‚ bite-sized cheesecakes – perfect for parties or a personal treat!
Other Dessert Possibilities
The Pampered Chef Mini Brownie Pan unlocks a world of baking beyond just brownies! Explore creating miniature versions of your favorite desserts‚ offering delightful portion control and presentation.

Consider lemon bars‚ mini cobblers‚ or even individual bread puddings. The pan’s non-stick surface ensures easy release‚ and its size is ideal for experimenting with new recipes. Adjust baking times accordingly‚ as smaller portions cook faster.
Don’t hesitate to get creative – the possibilities are endless! This versatile pan is a fantastic addition to any baker’s collection‚ expanding your dessert repertoire.